Cornerstone guide
The complete sandpaper grit chart.
Coarse to mirror. Pick a number.
Sandpaper grit is the size of the abrasive particles glued to the backing. Lower number = bigger particles = more aggressive cut = rougher finish. Higher number = finer particles = smoother finish. That's the entire concept. Now the work.
The chart
| Grit | Class | Best use |
|---|---|---|
| 40 | Extra Coarse | Heavy stock removal, paint stripping, rough lumber. |
| 60 | Coarse | Aggressive shaping, rust removal, knocking down old finish. |
| 80 | Coarse | The first real pass on hardwood. Where most projects begin. |
| 100 | Medium | Smoothing rough wood. Last grit before primer in most paint prep. |
| 120 | Medium | The everyday workhorse grit. Most projects live here. |
| 150 | Medium-Fine | Pre-paint smoothness. Ready for primer. |
| 180 | Fine | Pre-stain hardwoods. Soft enough not to leave swirls. |
| 220 | Fine | Pre-finish. Between coats of stain or polyurethane. |
| 320 | Very Fine | Between top-coat layers. Glass-smooth feel. |
| 400 | Extra Fine | Wet sanding clear coat. Plastic finishing. |
| 600 | Super Fine | Lacquer between coats. Auto primer prep. |
| 800 | Ultra Fine | Auto color-coat sanding. Pre-polish on metal. |
| 1000 | Ultra Fine | Wet sanding paint. Pre-compound on metal. |
| 1500 | Micro Fine | Polishing prep. Removes orange-peel. |
| 2000 | Micro Fine | Pre-mirror polish. Auto clear-coat finishing. |
| 3000 | Mirror | Final polish prep. Right before compound. |
The climb
Every project is a climb up the grit ladder. Skip a rung and you'll see the scratches from the last grit through everything that follows. The classic mistake is jumping from 80 to 220 — it feels efficient until you stain the wood and the swirl marks show up like fingerprints.
A safe rule: never skip more than one grit step. 80 → 100 → 120 → 150 → 180 → 220 is the slow way. 80 → 120 → 180 → 220 is the working pro's way. 80 → 220 is the way you'll redo the project.
Coarse, medium, fine — what the words mean
- Extra Coarse (24–40): Floor refinishing. Stripping old finishes off rough lumber. Aggressive shaping.
- Coarse (60–80): The first real pass on most projects. Softwood smoothing. Old paint removal.
- Medium (100–150): The everyday workhorse range. Cabinet building. Pre-paint prep.
- Fine (180–220): Hardwoods before stain. Drywall. The "smooth to the touch" benchmark.
- Very Fine (320–400): Between coats of finish. Wet sanding paint primer.
- Extra/Super Fine (600–800): Auto color-coat work. Fine metal finishing.
- Ultra Fine (1000–1500): Wet sanding clear coat. Polishing prep.
- Micro/Mirror (2000–3000): The last sanding step before compound. Show-finish territory.
Wet vs. dry
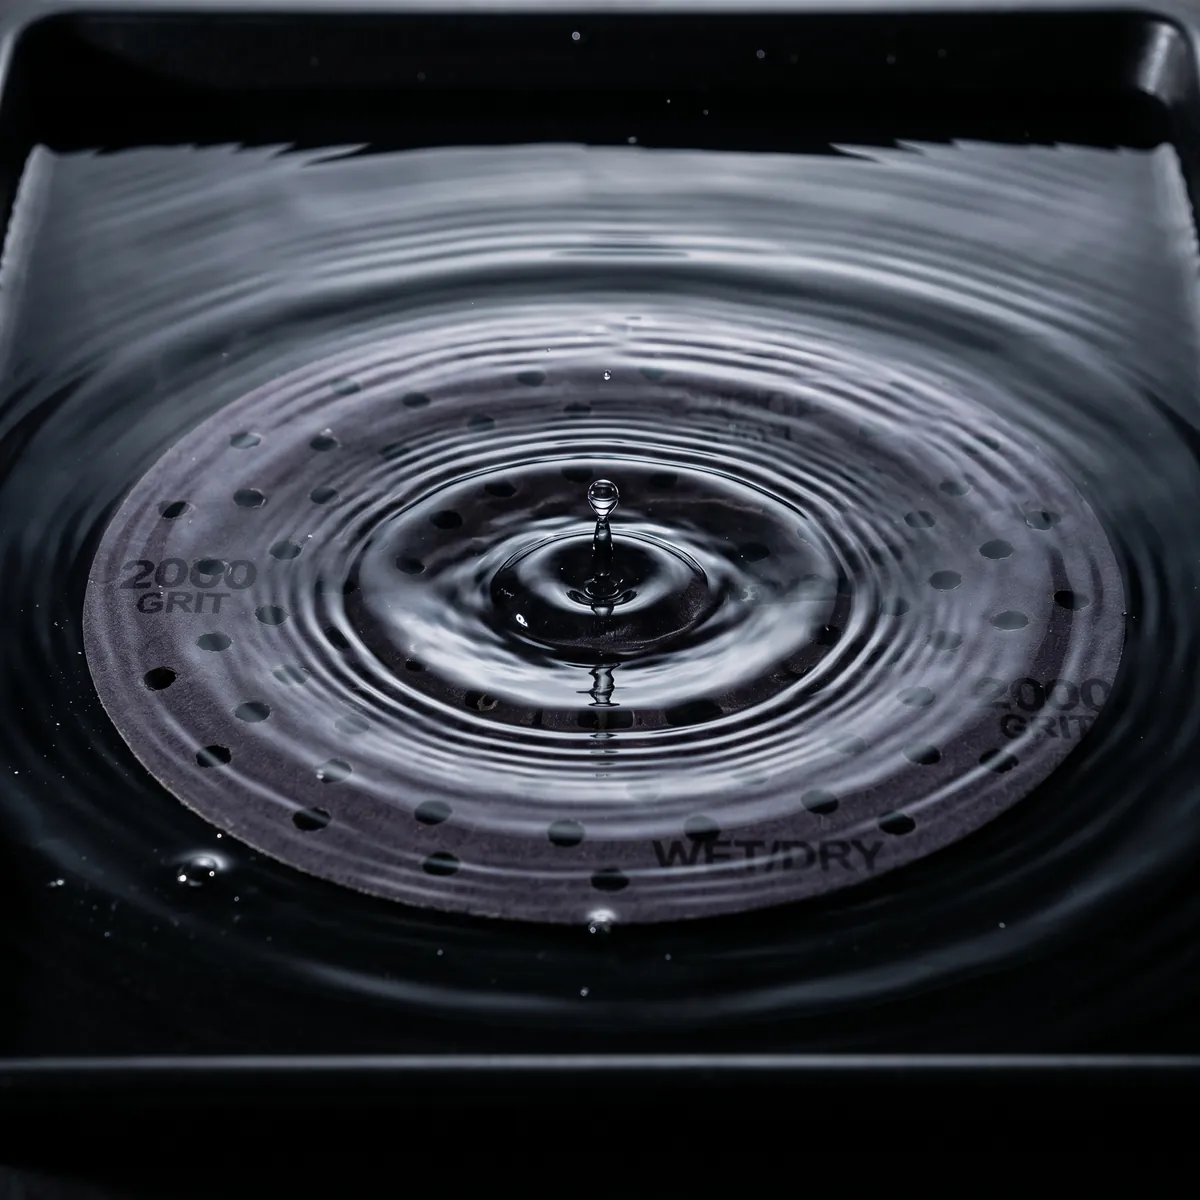
Most sandpaper is dry-only. Wet/dry sandpaper (silicon carbide grain on a waterproof backing) lets you sand under a stream of water — keeps the surface cool, flushes the swirl, gives a glassy finish. Used for clear coat, lacquer, plastic restoration, and anything where heat is the enemy. Dry-only paper turns to mush if it gets wet.
Material — what's actually doing the cutting
- Aluminum oxide: The default. Cheap, durable, fine for wood and most metal. 80% of consumer sandpaper.
- Silicon carbide: Sharper, faster cut. Brittle. Used in wet/dry, glass, ceramic, plastic.
- Ceramic (Cubitron, 3X): Engineered grain that fractures into fresh sharp edges as it wears. Cuts faster, lasts longer, costs more. Pro choice for hardwoods and stock removal.
- Zirconia alumina: Tough and hot. The metal-shop standard for belts and flap discs.
- Garnet: Old-school natural mineral. Mild cut, fine finish. Niche; mostly for fine woodworking.
- Diamond: The only grain hard enough for stone, glass, and cured concrete.
Open coat vs. closed coat — why some paper clogs
Two sheets can wear the same grit number and behave nothing alike, and the reason is how much of the backing the grain actually covers. Closed coat packs the abrasive across roughly 90–100% of the surface — more cutting points per pass, a faster cut, a finer scratch. Open coat leaves deliberate gaps between the grains, covering closer to 50–70%, so there's somewhere for the debris to go instead of packing into the paper.
That gap is the whole difference on soft, gummy, resinous work. Paint, drywall mud, softwoods, pine sap, aluminum — anything that throws a lot of loose swarf will pack a closed-coat sheet solid in a few strokes, and a loaded sheet stops cutting and starts burnishing. Open coat keeps its appetite longer on that material. On hard, clean-cutting stock — hardwoods, steel, cured finish — the fine dust never threatens to clog, so closed coat's denser grain is the faster, finer choice. Match the coat to what the surface sheds, not just to the number.
The related trick is no-load (or stearated) paper: a soft, soap-like zinc-stearate dressing over the grain, usually a pale grey or white powder you can feel. It's a dry lubricant that keeps swarf from welding into the grit, which is why it shines between coats of finish and on painted surfaces that gum up ordinary paper. One honest caveat — the stearate can leave a faint residue that some waterborne finishes fish-eye over, so wipe the surface down before a water-based topcoat, or reach forwet sandinginstead, where a flood of water does the anti-clogging work and rinses clean.
The rest of the site is built around this chart. Tap any grit number above to see the SKUs we recommend at that level.
Guides by project type
- What grit sandpaper for woodworking? — The full 80–220 sequence, by task and wood type.
- What grit sandpaper for auto body? — Where the chart runs all the way to 3000: primer, color, and clear coat.
- How to wet sand — The technique that unlocks the high end of the chart without clogging.